
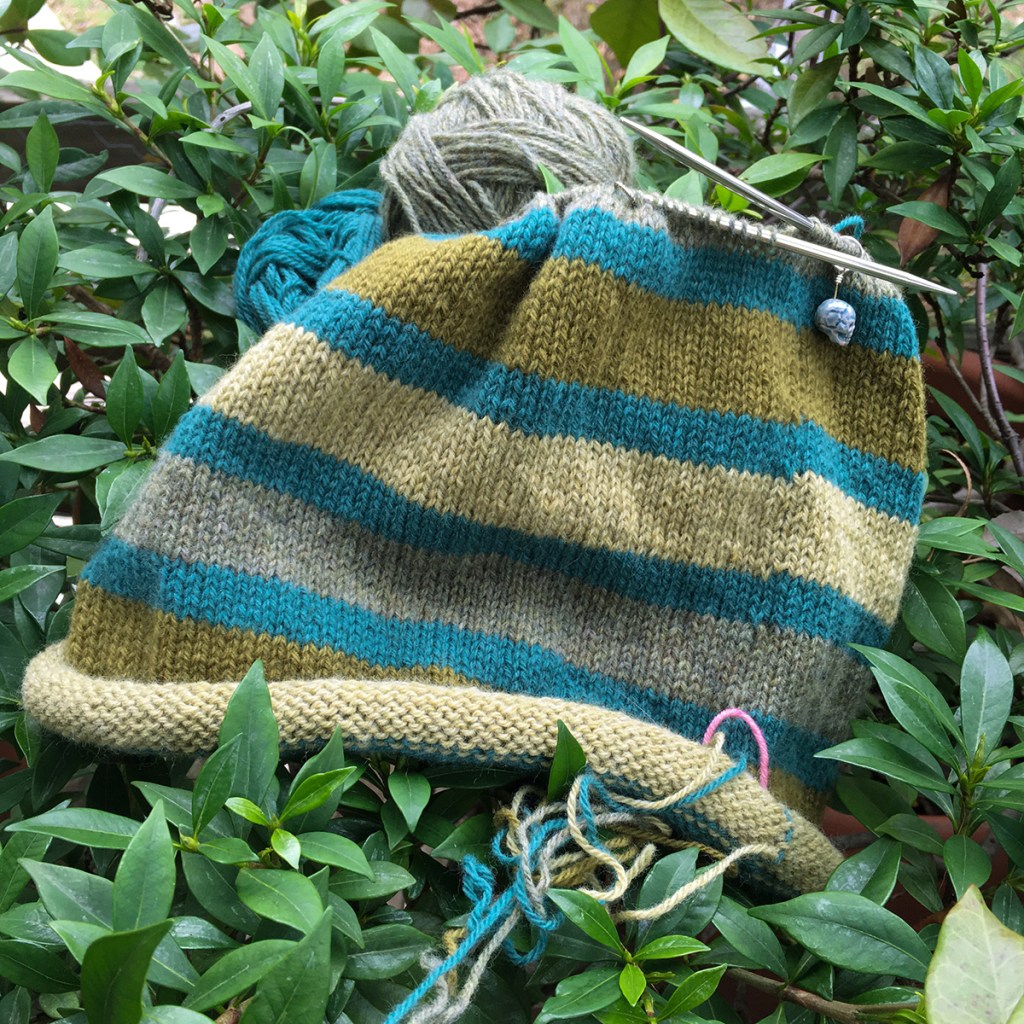
If you follow me on Instagram, you probably know that I’m on a bit of a stripey hat kick. I find these hats to be just the right combination of mindless knitting and creative play: they use up all kinds of leftovers and little skeins, and I get to play around with colour without worrying whether it’ll look good in sample photos or the stripes are perfect or the colours are maybe a bit weird.

As invariably happens when I wing it and really like the result, I toyed with the idea of turning these hats into a pattern. On the other hand: 1. Does the world really need another plain hat pattern but with stripes in it? Probably not. 2. Really, the freestyle nature is part of the fun. Maybe I could just tell you what I did so you can go forth and freestyle your own?
So. What follows is more of a set of loose guidelines. It’s not tech edited, there are no fancy photos, it’s just a rough guide to making up a hat using yarn and needles found about the home.
What you need:
- About a hat’s worth of yarn. This is kind of vague, I know. How much you need depends on the size of hat you want, whether slouchy or beanie style, what kind of brim you want (hem? ribbing? garter stitch?), your gauge, and the yarn’s weight. There are a few yardage calculators out there to help (I use Stashbot a lot, but it’s iOS only and it ain’t free, so it’s not for everyone), or you can look at some plain hat patterns for your yarn weight to get a rough idea. For these hats, I used about 216 yds/198 m of Sunday Knits 3-ply sport weight for the smallest slouchy & 256 yds/235 m for the largest. For your main yarn you want something with bounce or memory: a yarn that will stretch to fit around the head and still keep its shape. A high wool content is great for this sort of thing; a yarn with no memory grow and grow until by the end of a day’s wear the thing will be more of a head bag than a hat. The bounce is especially important for the brim; after that, if you want to do some stripes in a bounceless yarn, the main yarn will hold it all together.
- Needles: Whatever size gives you a nice, springy fabric in your yarn. I happened to have a 20 in/50 cm circular in a good size for my yarn (US 4/3.5 mm), so I used that for most of the hat, adding a 24 in/60 cm circular to work the crown on 2 circulars. Whatever you prefer for working small circumference in the round is what you need here. If you’re doing a ribbed or garter stitch brim, you’ll need needles one size smaller for that part.
- Stitch markers: 1 for the end of the round + 7 for decrease points (or + 5 if you’re doing a more rounded crown).
- Yarn needle for weaving in ends and sewing down the hem if you do one.
- If doing a provisional cast on: Scrap yarn & crochet hook in roughly the same size as your working yarn & needles.
Next, figure out what size and style you want to make. If you can’t measure the wearer’s head, you can use Woolly Wormhead’s helpful hat size guide to get a rough idea of what you’re shooting for. You want less negative ease for a slouchy (say, about 1-1.5 inches/2.5-3.5 cm); around 2 in/5 cm for a close-fitting beanie. If I don’t already know my gauge, I’ll use the middle number on the ball band as a rough guideline when calculating my cast on. For a flat crown like the hats shown here, you want a multiple of 8 stitches; for a more rounded crown, a multiple of 6. The first hat is a bit of a crapshoot, so you can block it part-way through to check the size and measure your gauge. If it’s not the size you wanted, just rip it back and start again (using numbers from that gauge you checked) or keep going and give it to someone with a different-sized head.*
Cast on! I used a provisional cast on at first so I could think about the brim as I worked on the hats. Since I decided on a hem for all of them, I stuck with that cast on: it meant if I didn’t have enough of the main colour (I didn’t), I could do a contrasting hem, plus it made the hem math easy. At some point I’ll do a tutorial for this cast on; in the meantime, here’s a good one from Carol Feller. If you know you want a ribbed or garter stitch brim, use a smaller needle for the brim and work a stretchy cast on (I like to use a tubular cast on for hat ribbing in fingering to DK weight; a German Twisted/Old Norwegian cast on for non-ribbing or heavier weights.)
Join to work in the round (you’ve checked to make sure there’s no twist in the edge, yes?) and work your brim if you’re doing that first. Your basic k1, p1 rib will work for any even number of stitches. For a multiple of 8 stitches, you can go with k2, p2 rib (super stretchy); k3, p1; or p3, k1 (subtle, rather pretty IMO). For a multiple of 6, there’s k3, p3 (also quite stretchy); k2, p1; or p2, k1. You can also get fancy and do some kind of syncopated rib, as long as it fits into your stitch count. You want at least an inch/2.5 cm of ribbing, preferably more; twice the desired depth for a folded brim. I’d say about an inch/2.5 cm is a good minimum for garter stitch, too.
Knit, throwing in stripes as the mood hits you. If you’re doing a ribbed brim, change to the larger needles for the body of the hat. To lessen the jog at the end of the round when you change colours, I’ve found it helps to do two things: slip the first stitch of the second round in the new colour, and then when you weave in the ends, bring each end well into its stripe to pull its stitch more in line with the rest of the stripe. (For stripes of just a row or two, you could do barberpole stripes, changing colour whenever you run out of a yarn.)
Keep going until you have about 6 in/15 cm from the cast on for a beanie, 8-9 in/20.5-23 cm for a slouchy. A folded brim will need your desired depth + the depth of the folded up bit. If you used a provisional cast on and have decided on a ribbed or garter stitch brim, add your planned brim depth to the total length here.
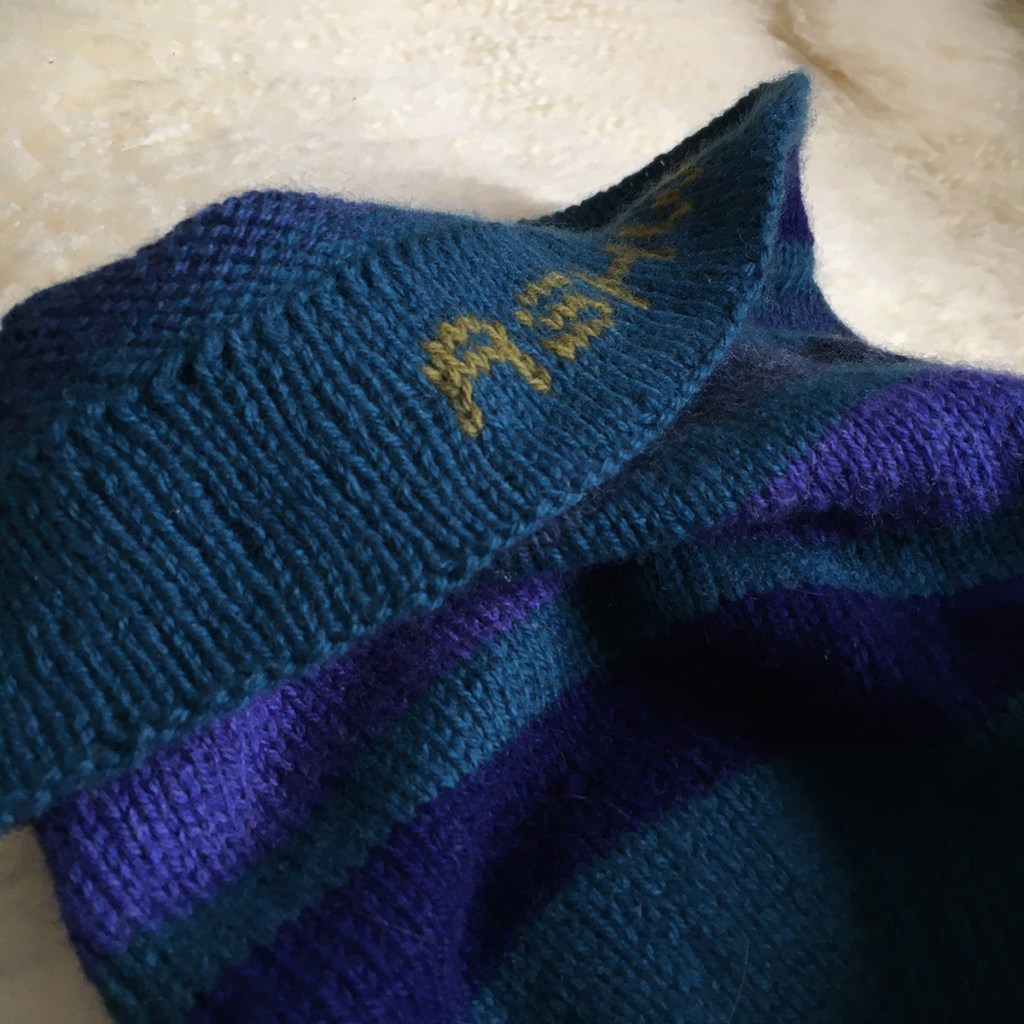
If you want to keep things simple, you can end the striping here, as I did in the blue hat up top. If you don’t mind working stripes and decreases at the same time, have at it. If you’re lucky, you may end up with a perfectly striped crown.

Or, if you’re feeling industrious, you can work out the math in advance.

Start your crown decreases: divide your stitches by 8 (or 6, if you went with the rounded crown), and place your markers accordingly. On decrease rounds, (knit to 2 sts before marker, k2 tog), repeat to the end of the round: 8 (6) stitches decreased per round. I usually do (a decrease round, 2 straight rounds) twice, then decrease every other round until I’ve got 4 stitches between each marker, then every round x3. (That last rush of decreases helps avoid the dreaded hat nipple.) Cut your yarn and thread it on to your yarn needle, then run the tail through the remaining 8 (or 6) stitches, pull snug, and bring the tail to the other side to weave in.
If you went with a straight cast on and a ribbed or garter stitch brim, you’re pretty much done. Just weave in your ends and block. (See below for blocking tips.)
If you went with a provisional cast on, now’s the time to work your brim. For a ribbed or garter stitch brim, put the live stitches on the smaller needle and work your chosen ribbing pattern, or for garter stitch (knit 1 round, purl 1 round), until your brim is the desired length. You may be a stitch short for your ribbing pattern; just make a stitch in the first round to get to the right number. Bind off loosely. (A tubular bind off is useful here.)
For a hem, put the live stitches on your needle, place your end-of-round marker, and work a round in purl to make a fold line. Next, decrease for the hem: using Elizabeth Zimmermann’s 10% guideline, I worked this round as k8, k2tog until I ran out of stitches.** Knit until you’ve got a hem depth you like. If you’re doing a contrasting hem, I recommend working the first round or two in MC and carrying the yarn up to work the last round in MC as well: this will keep your contrasting yarn from showing at the bottom or in the sewing-down of the top. If you want to get fancy, you can go full Zimmermann and knit the owner’s name into the brim in stranded colourwork, using a fresh piece of yarn for each round.
The ends will be hidden in the hem, so there’s no extra weaving in here: just tie the ends to each other and trim the excess yarn, leaving enough of a tail to stop the knot from undoing itself. When you’ve got your desired hem depth, leave the stitches on the needle and cut a nice, long tail (about 3x the circumference of your hat should be plenty) to stitch it down. Turn your hat inside out and weave in your ends.
Sew down the hem. If your yarn is reasonably sticky, you can pull the needle out now: as long as you don’t pull on the thing, the stitches will stay in place. (If this makes you nervous, you can just work a stretchy bind off and whipstitch that edge to the inside of the hat.) With the hat inside out, fold the hem up and see which round those live stitches reach. You want the hem to lie flat all the way around, so if there’s no clear indicator such as the edge of a stripe, mark this round in a few places. Starting with the last stitch worked, use the tail to sew down the live stitches: bring the needle through the stitch, skim the corresponding stitch on the inside of the hat, pull yarn through. Repeat all the way around, one hem stitch to one hat stitch, skipping every 10th stitch on the hat body, until all the hem stitches are secured to the hat.

Weave in that last end and your hat’s ready for blocking. I like to wet-block my hats by soaking them in some water with a bit of wool wash for about 15 minutes, gently squeezing out as much water as possible (you can get even more water out by rolling the thing up in a towel and walking on it), and laying it flat on a blocking mat to dry. As it dries, I’ll move it around to shift the fold lines, so I don’t get creases in the hat. When it’s almost dry, I turn the hat inside out to dry out the inside.
That’s it! You are done. Unless of course you’d like to make another one…
*You don’t even have to know this person. You could, for instance, leave it where someone with a cold head can find it, perhaps with a charming “I’m not lost” tag on it.
**This proportion (and a tonne of other helpful knitting advice) comes from Knitting Without Tears by the queen of improvised knitting, Elizabeth Zimmermann.

COOL! 😎