This is my usual cast on for toe up socks and slippers. I came across it years ago in Wendy D. Johnson’s book Toe Up Socks for Every Body, and it worked well for me, so I’ve stuck with it. I’m not going to tell you it’s the Best Cast On Ever, or even that it’s better or worse than any other toe up cast on out there, just that it works well for me and I kind of like the flippy motions of slinging the yarn around the needles like a very minimalist Cat’s Cradle. It’s the cast on I used in the Last Minute Travel Slippers, and I included this tutorial in the pattern. Here’s how you do it:
Note: This tutorial shows 2 circular needles. If you usually do your socks with Magic Loop or DPNs, do feel free to use your preferred needles. Obviously there’s no cord on DPNs, so if you’re using those you won’t be pulling your needles out to work the first round.
Step 1
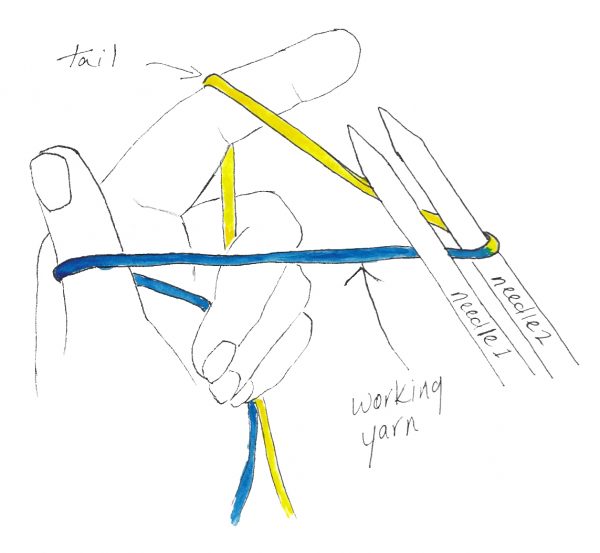
Take one tip from each of two circular needles. Hold the tips together, one (needle 1) below the other (needle 2). Arrange yarn so that the tail comes up over your index finger, over needle 2, between the needles, around your thumb from the outside, and from there over your palm to the ball of yarn. Use your other three fingers to hold the yarn ends firmly.
Step 2
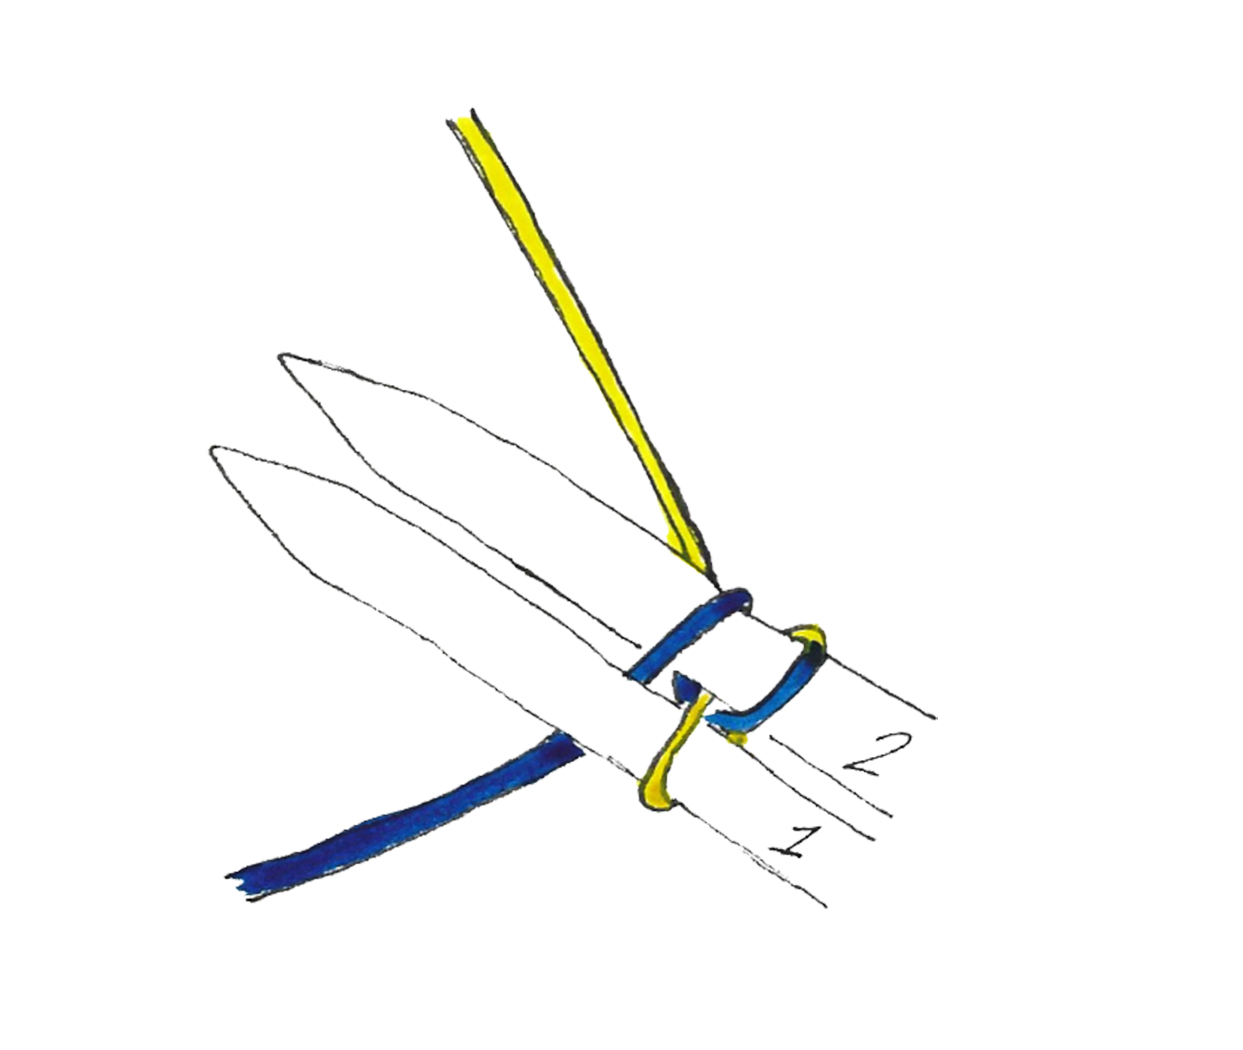
With your index finger, bring the tail behind needle 1, up around the front, and between the needles.
Step 3
With your thumb, bring the working yarn behind and over needle 2, then back between the needles.
Step 4
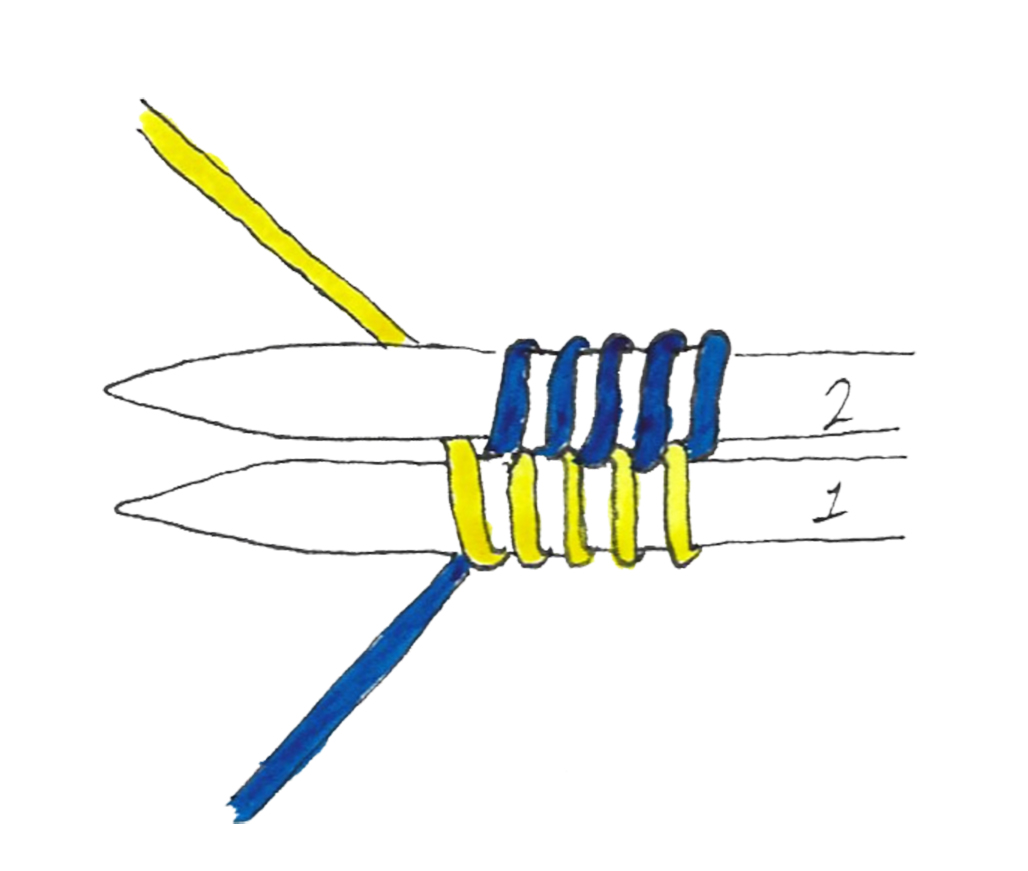
Repeat steps 2 and 3 until you have cast on the desired number of stitches, ending with step 2.
First Round
I usually place my marker after finishing this round.
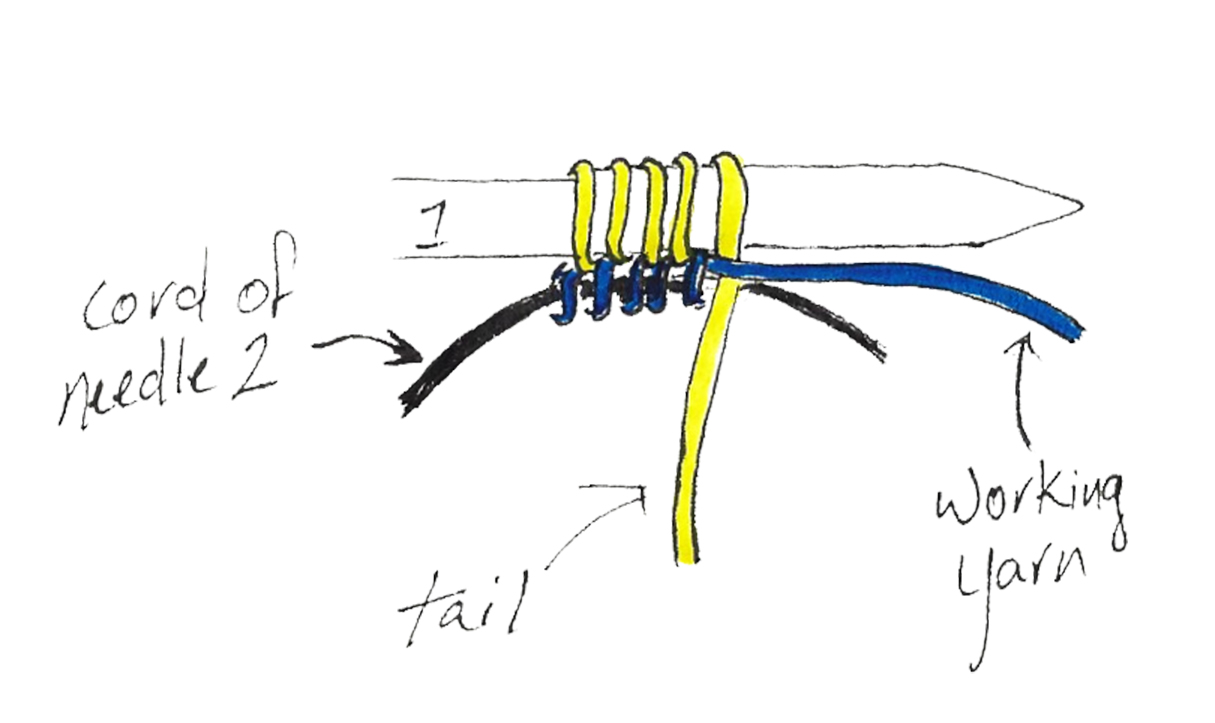
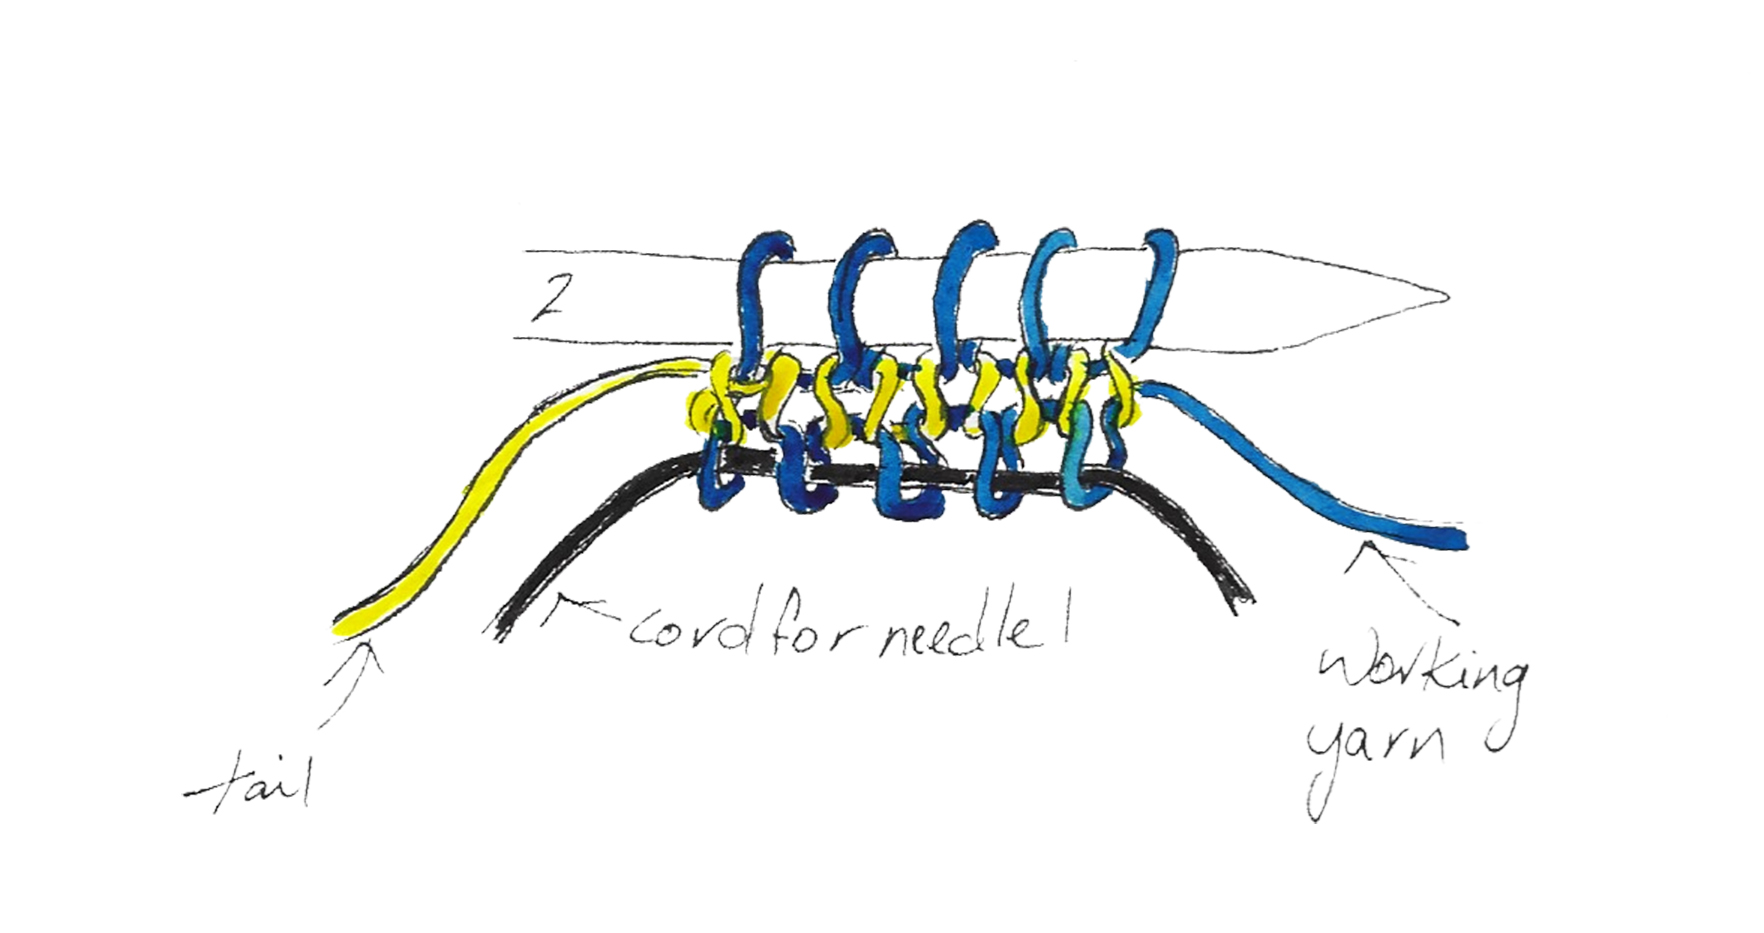
Turn needles over so that needle 1 is on the top and the tips are pointing to your right. Pull the tip of needle 2 to the right so that the bottom stitches are on the cord. Make sure the tail is between the working yarn and needle 1.
Knit all stitches on needle 1.
Turn needles so that needle 2 is on the top. Pull needle 1 to the right so that its stitches are on the cord, then pull needle 2 to the left so that its stitches are on the needle tip, with the tip pointed to your right.
All the stitches on needle 2 except the first one will be seated backward, so knit the first stitch, then knit the rest of the stitches on needle 2 through the back of the loop.
And that’s it! This cast on is nicely invisible, looking rather like the grafted toe on a cuff-down sock.


