
It’s been ages since the last tutorial, hasn’t it? Time to fix that. With a new centre-out design coming out in the fall and the release of a revised version of the Sweet Lullaby Seamless Hooded Baby Blanket, now’s a good time to demonstrate a useful cast on for projects worked from the centre: the Emily Ocker cast on. This is the cast on that I go to for centre-out work, as I find it fairly easy to do, and a simple tug on the tail closes the hole left in the middle of your work.
Photos are shown at about half-size; click any photo to embiggen it.
You will need:
- Your yarn (of course)
- A set of double-pointed needles in your gauge size (or 2 circular needles, or 1 long circular for magic loop; this demonstration uses DPNs)
- A crochet hook, either in the same size as your gauge needle or one size smaller
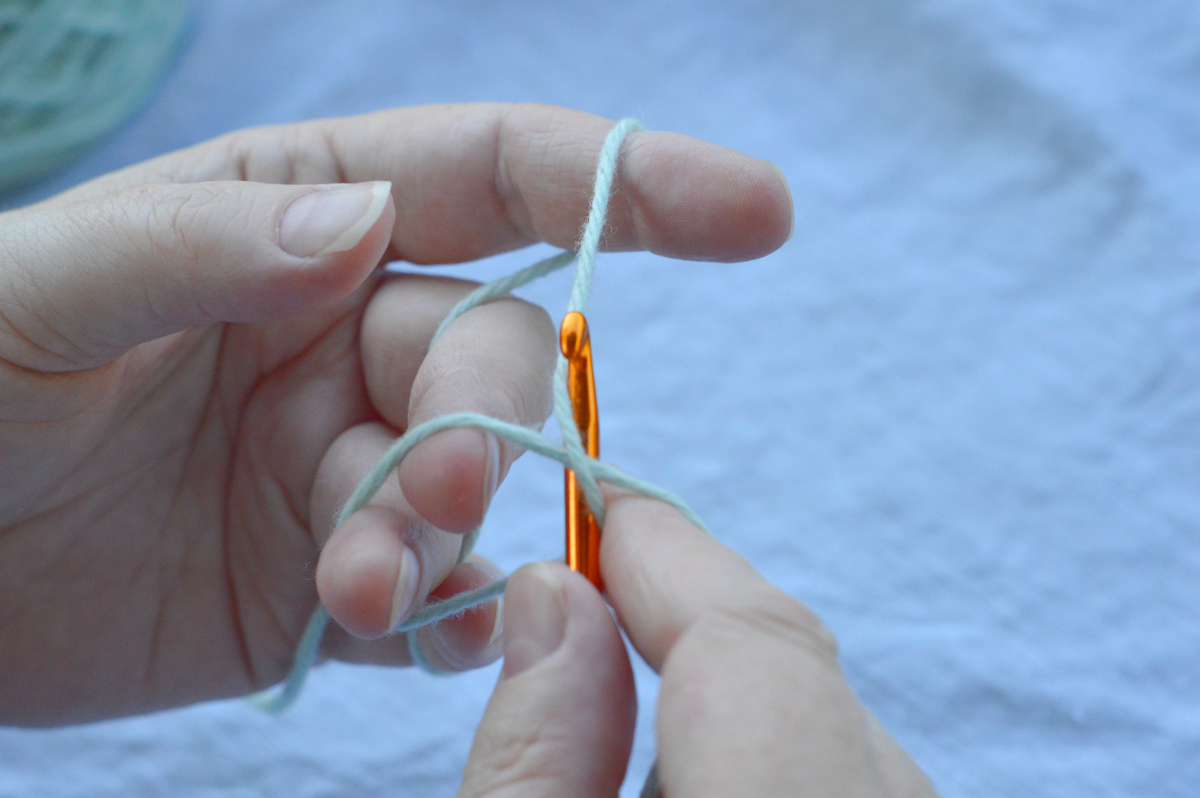
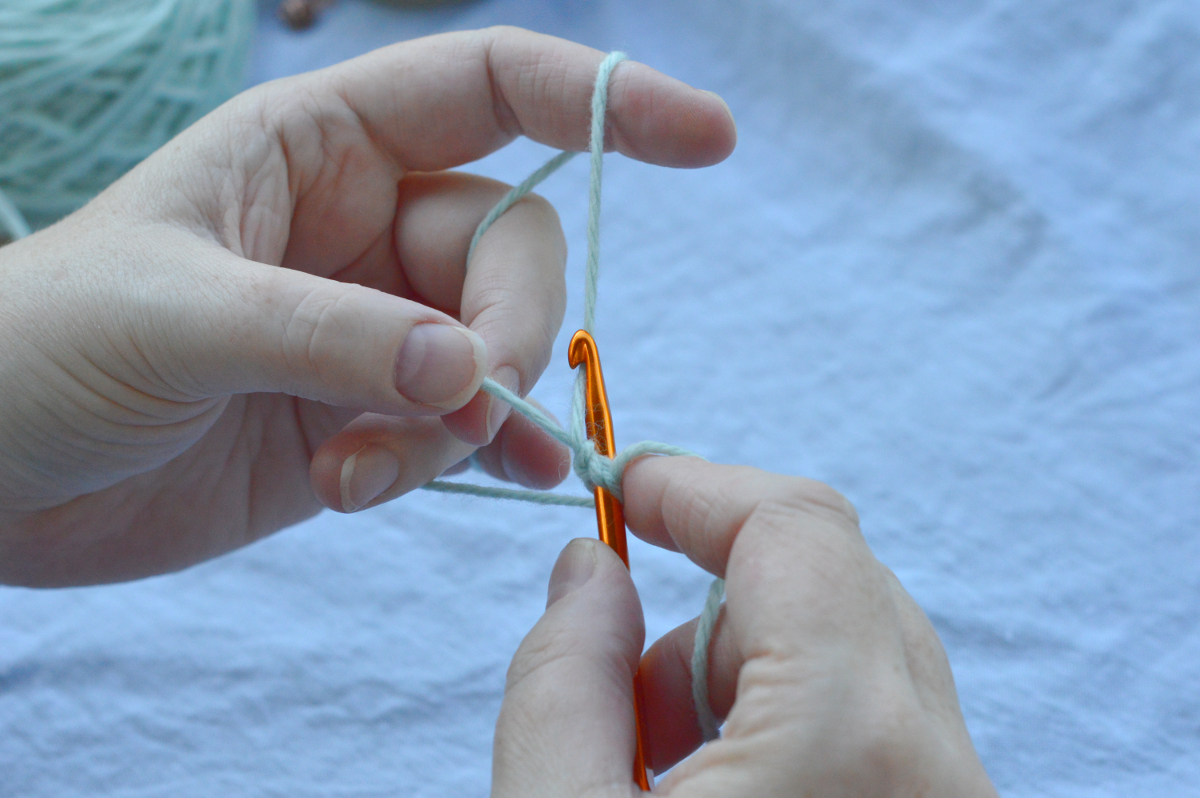
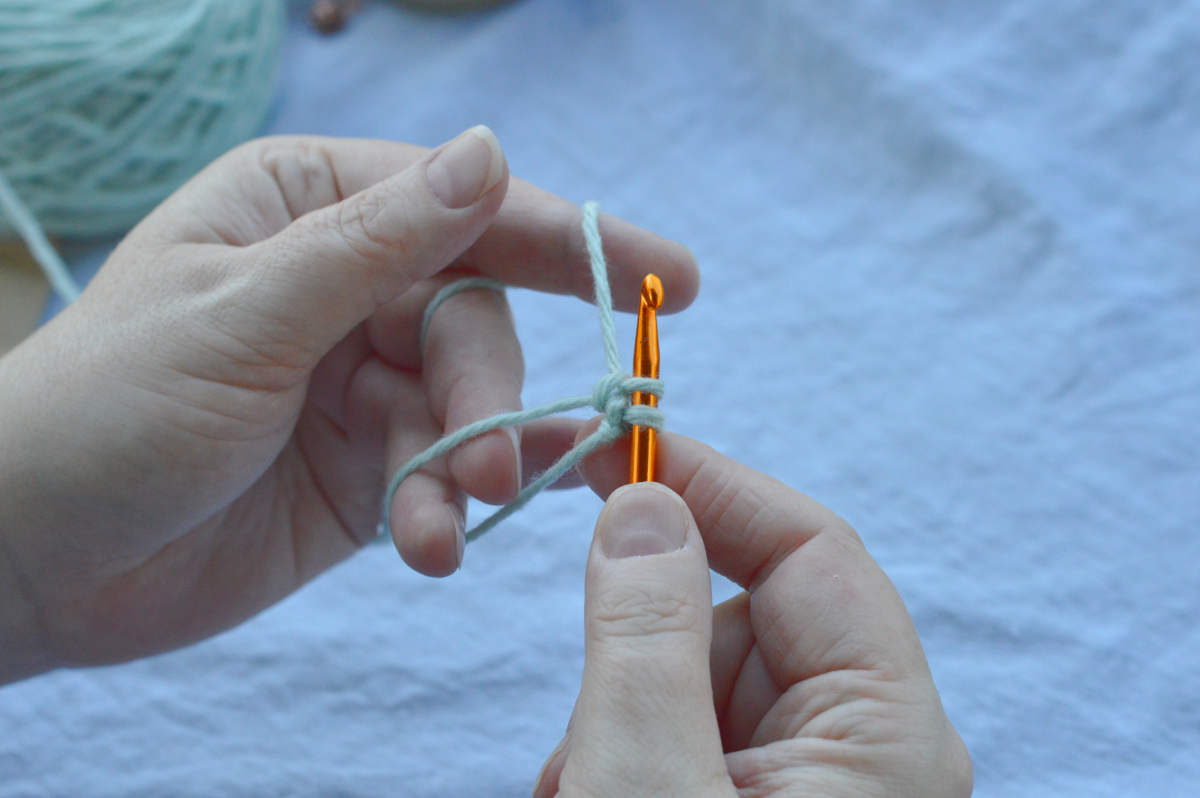
Take your yarn and form a loop with the tail to the back. (Some instructions will say to put the tail at the front; I find it easier to work the first stitch with the tail at the back and unwind the tail later.)

Put your crochet hook through the loop and hook the working yarn,
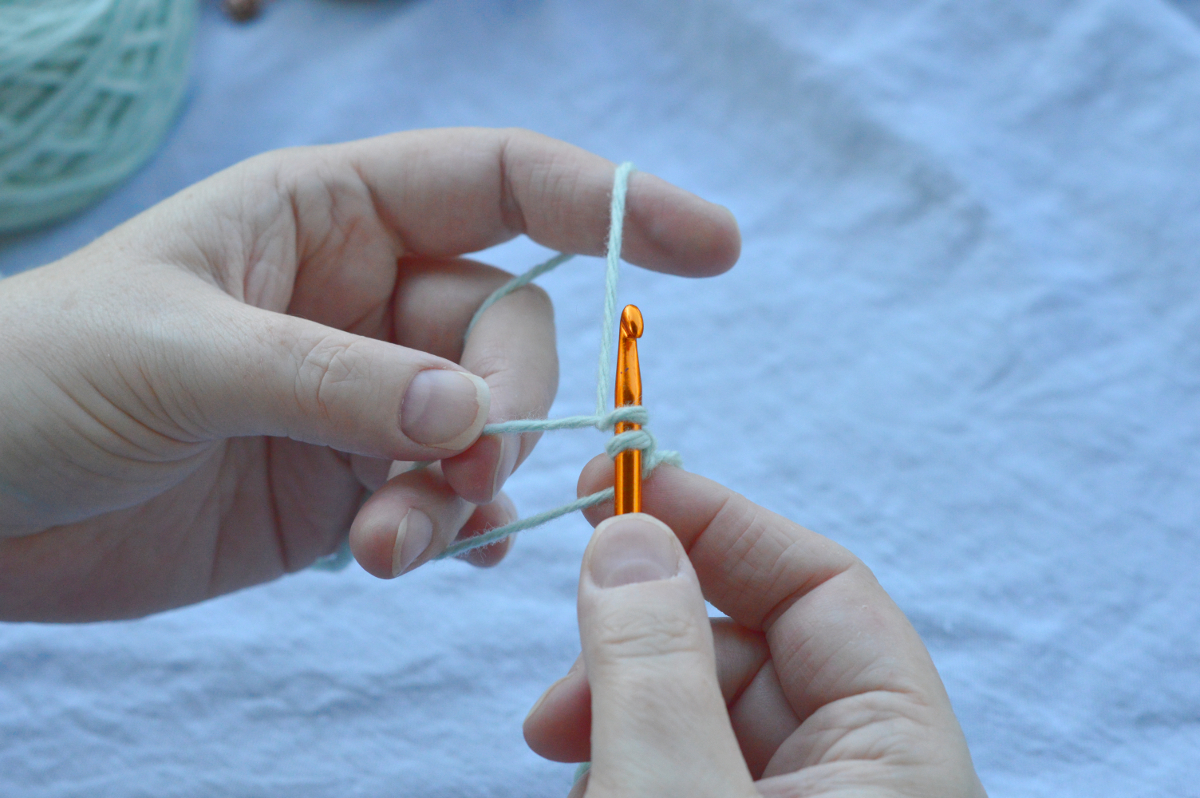
and pull it through the loop.
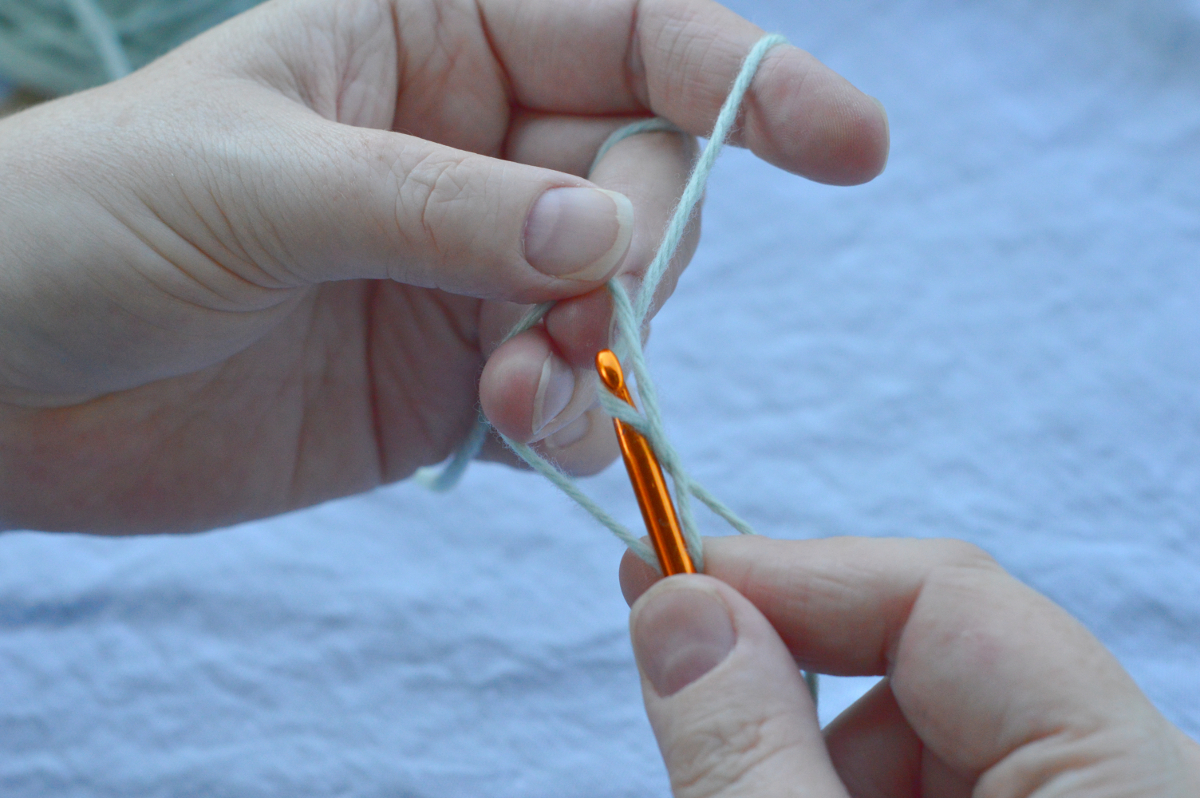
Bring your crochet hook over the original loop and hook the working yarn again,
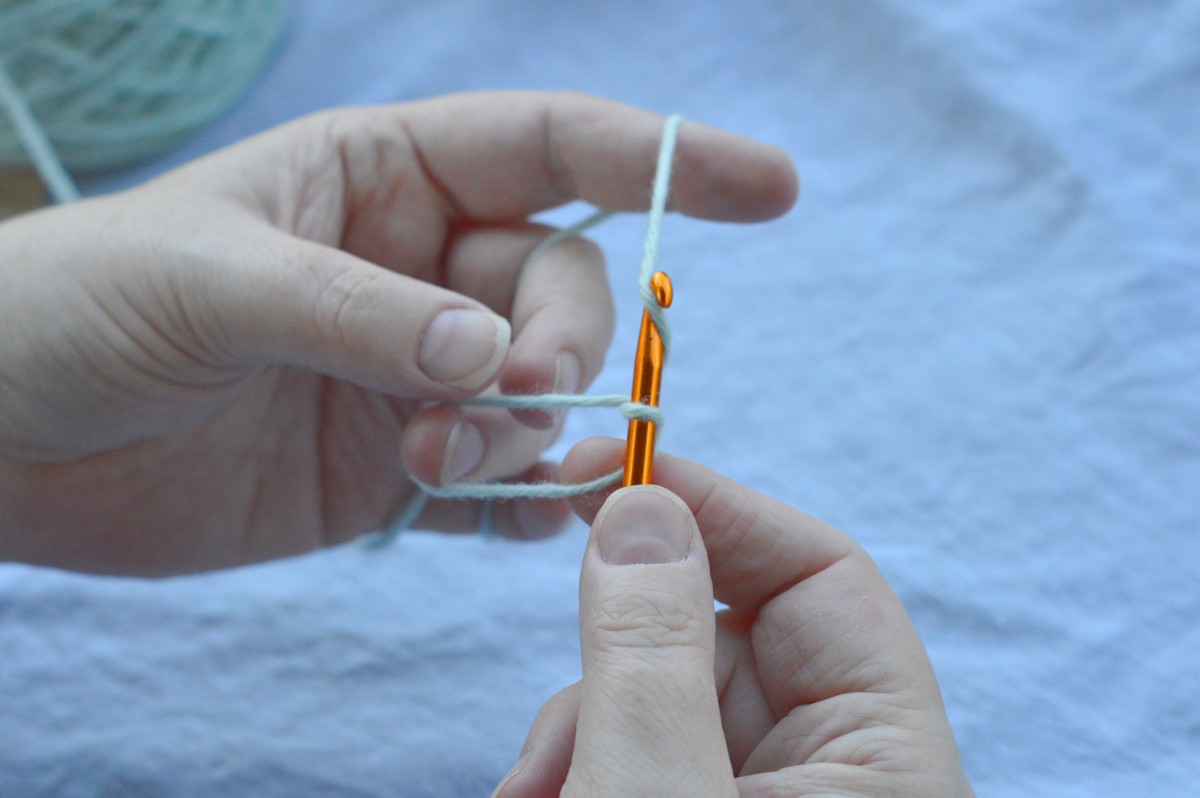
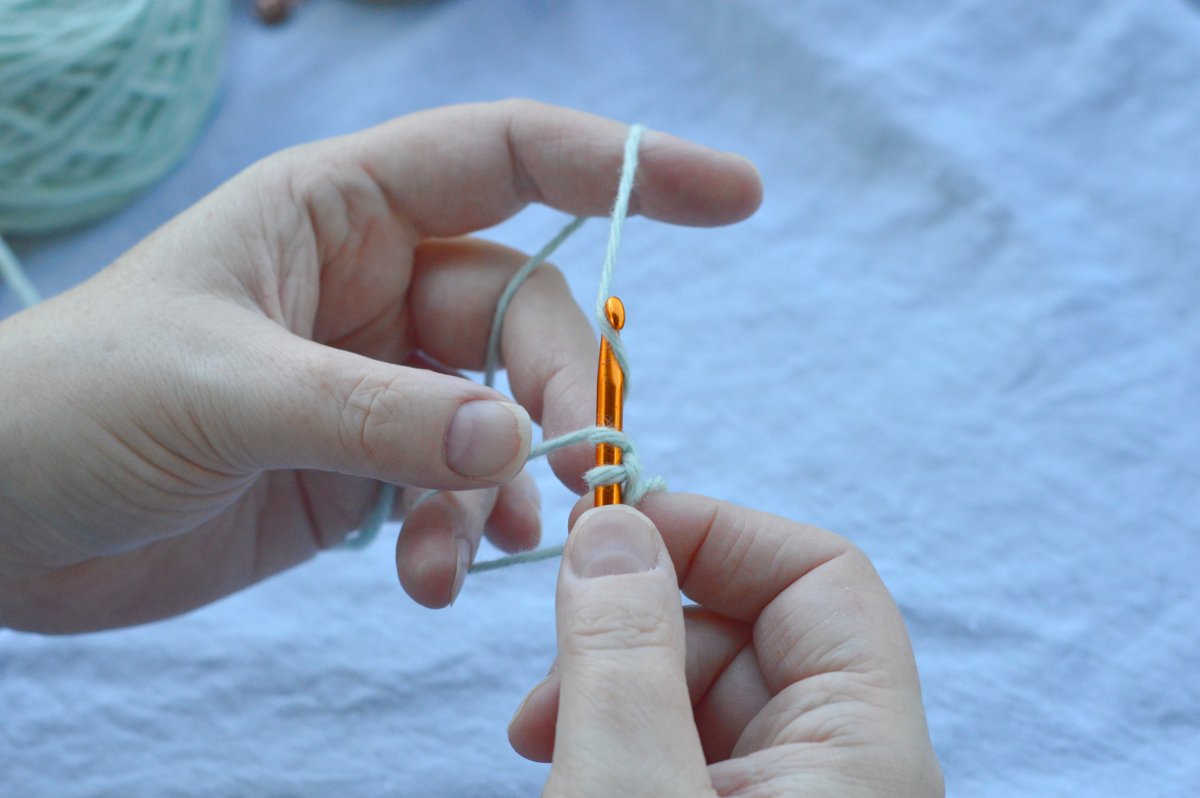
and pull the yarn through the loop you just made.

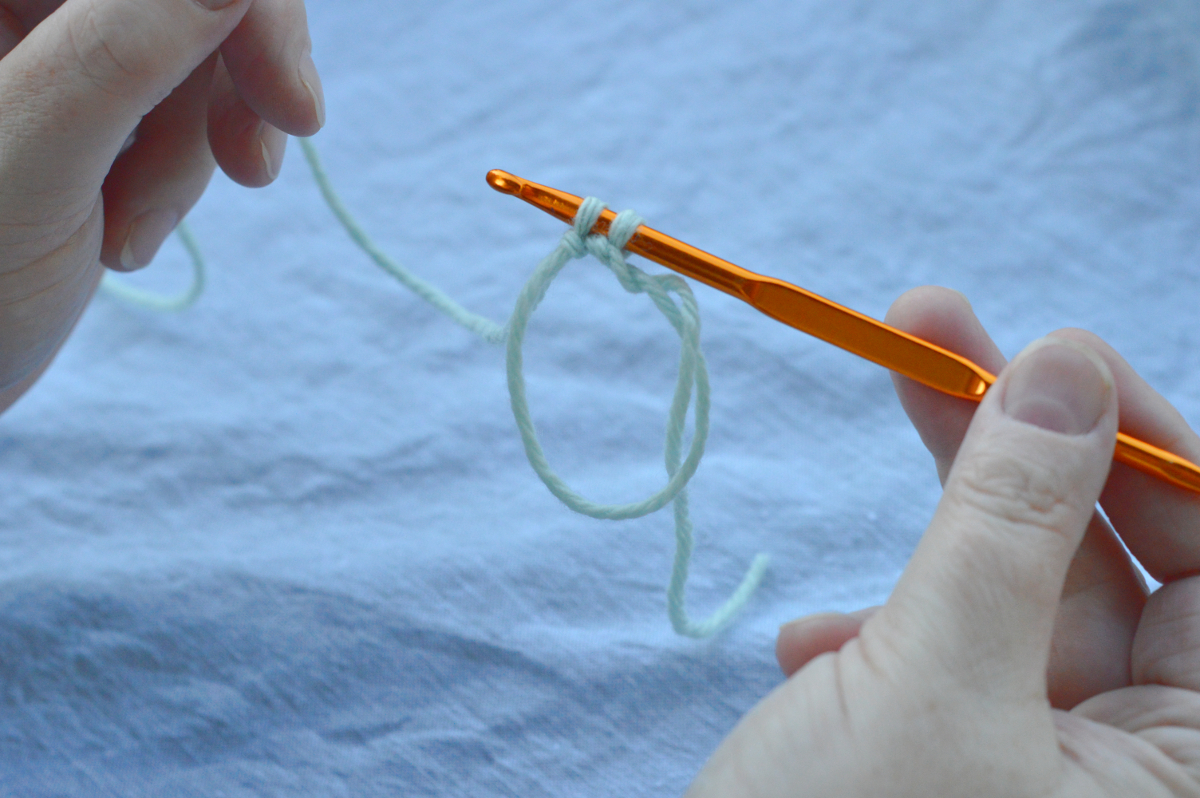
Et voilà! You have made your first stitch. Tighten it a bit, but not too much: if the stitches are too tight, the tail won’t move through them easily, and you’ll have a heck of a time closing the hole later on.
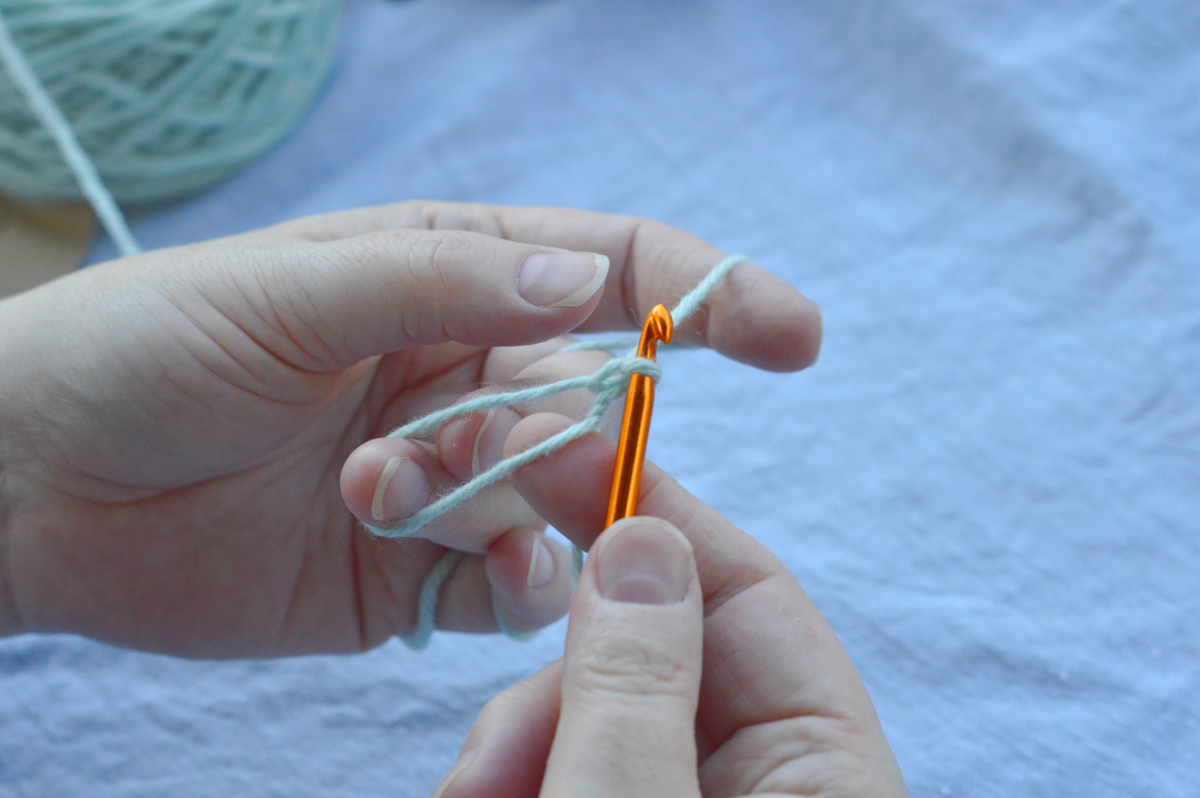
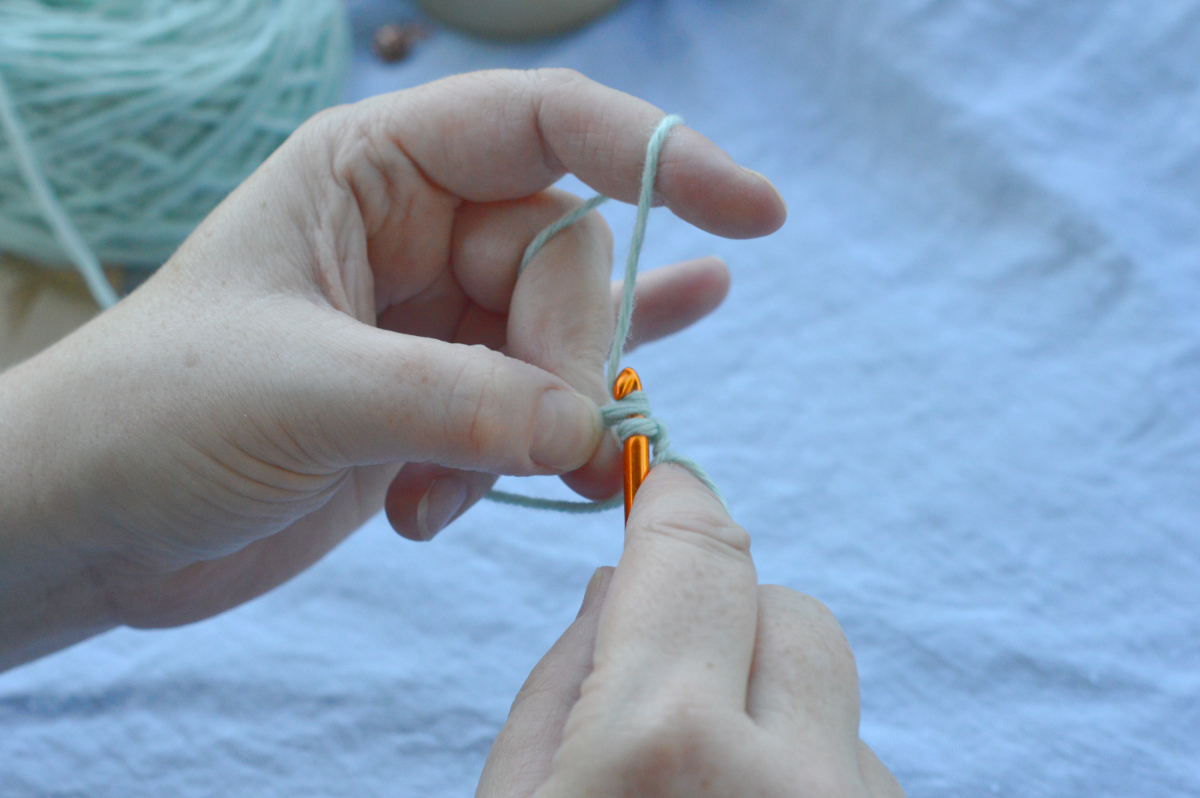
The rest of the stitches go the same way: Put your hook through the big loop and hook the working yarn
and pull it back through.
Hook the working yarn again,
and pull it through the loop you just made.
You can use the big loop to snug the stitches together, and the working yarn to (gently, slightly) tighten the stitch.
See how the tail is twisted around the big loop?
Now’s a good time to untwist it.

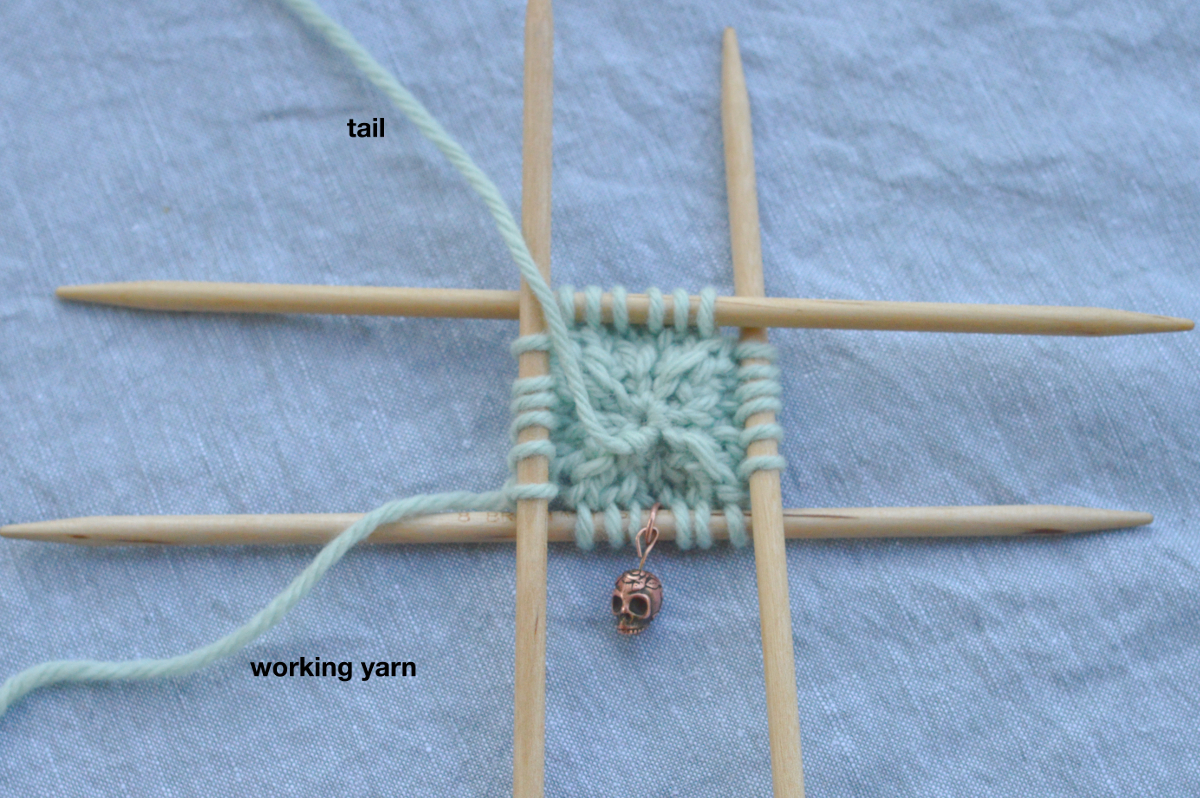
Keep going until you have the requisite number of stitches. For a square, I generally do 8 stitches; for a top-down hat or a circle, it might be 6 or 5 or some other number.

Pull on the tail to tighten the loop (you don’t have to tighten it all the way at this point, just get the loop out of the way), and transfer the stitches to your working needles, placing a marker for the beginning of the round. Since the first stitch is at the beginning of the first needle, I put the marker between the first and second stitches and call it good: as long as you know which is the first needle, you know where the round begins.

Once you’ve worked a few rounds, you can finish closing the loop.
And there you have it! If you have any questions, or there’s anything that’s not clear, post about it below and I’ll answer ’em. I’ve got a few more tutorials lined up, but there’s always room for more, so let me know if there’s a technique you’d like me to demonstrate here.

Great tutorial! Keep up the good work! Thanks for the revised pattern.
Much love,
Mumacita/Alison xoxoxoxoxoxoxoxoxoxoxoxoxo. . . >
Excellent with clarity! 💕💕💕